This document explains how to reconfigure the Kitchen Management System (KMS) to use a temporary master when a master POS terminal is offline and temporary master POS terminal must be activated.
There are two parts to these instructions.
Section 1 - Configuring KMS Stations to Use a Temporary Master, explains how to configure KMS Stations when a temporary master terminal must be used.
Section 2 - Re-activating a Master Terminal, explains how to return to a normal master terminal configuration after using a temporary master.
1.Take a note of any outstanding jobs still shown on the KMS Stations for the affected area. These current jobs will not be shown while the temporary master is in use. Serve off all active jobs to clear the station jobs queue.
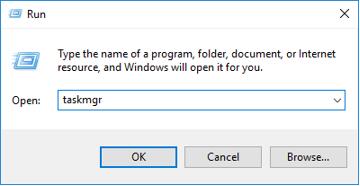
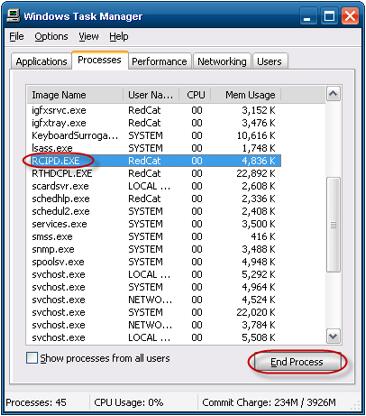
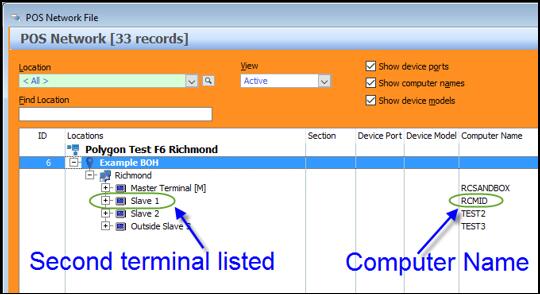
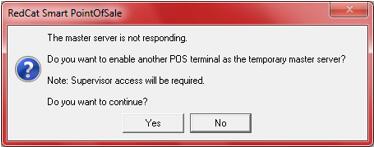
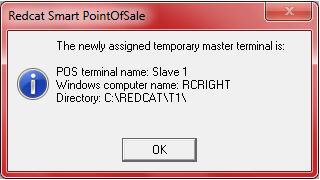
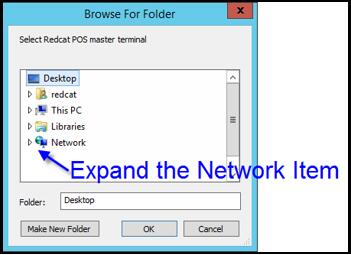
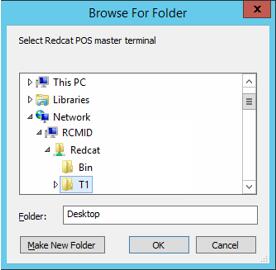
2.Close all Redcat software running on POS terminals and KMS stations. For KMS Stations this may need to be done by running task manager and then killing the RCIPD.exe process. 3.Check which POS terminal will be used as a temporary master. The temporary master terminal is determined by the order of the terminals listed in the POS Networks File at the BOH. The first terminal listed after the master terminal should be used as the temporary master if possible. Take a note of the Computer Name of the temporary master terminal. 4.Run the POS terminal shortcut from the terminal which will be used as a temporary master. 5.When prompted to use this terminal as the temporary master, click the “Yes” button 6.Enter a POS Manager’s password to proceed. This must be the password of a staff member who has the “Reset master terminal (POS Manager)” privilege. 7.If the terminal has successfully been assigned as a master terminal, a confirmation message similar to the one below will be displayed. Click the OK button. 8.Re-run the KMS shortcut at one of the KMS stations. After a pause, the following message will be displayed. Click the OK button. 9.A location browser dialog box will be displayed. Expand the “Network” item by clicking the white arrow to its left. 10.After a few seconds, a list of computer names on this network will be displayed. Find and expand the computer name of the temporary master, then expand the Redcat folder and highlight the T1 folder. Then click the OK button. You will be returned to the desktop. 11.Re-run the KMS shortcut. 12.This KMS terminal is now assigned to the temporary master POS terminal. Repeat steps 8 to 11 for each KMS station. 13.If Sale Type indicators are not shown above jobs. Colour Coding can be configured from the KMS System Settings form on the Global Settings tab. |


 The KMS System will check for new software versions, click
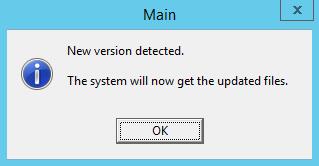


When the master terminal becomes available again, the KMS terminals should be reassigned to the master terminal by following these steps:
1.Take a note of any active jobs listed on the KMS system, then serve off those jobs. These jobs will not be visible when KMS terminals are reconfigured to use the master POS terminal.
2.If there are currently sales in the sales history of the temporary master terminal, reset the sales. If there are currently shifts recorded in the time and attendance file, reset the time & attendance file.
3.Close all POS terminals and KMS terminals which are using the temporary master terminal. Then close the temporary master terminal.
4.Reopen the master POS terminal. Reopen the slave POS terminals. Reopen the KMS stations.
5.The master terminal has now been restored. |
See Also: