For users accessing the database on Redcat's cloud platform, this is the process for assigning images.
Images may be assigned for:
•PLUs (for customer ordering)
•PLUs (for product keys at POS)
•Company Logos (for POS and various reports)
•Brand Logos (for Ordering)
•Floorplan (table map) objects
Images are now assigned using the Image Selection window. This window is presented if:
![]() The Image Selection button is used to assign customer ordering images, product keypad images, media images, table map object images and brand logos, or
The Image Selection button is used to assign customer ordering images, product keypad images, media images, table map object images and brand logos, or
![]() The Select button is used within Application or Location Settings to assign company logos for display at POS or inclusion on reports, or adding content to a promo player.
The Select button is used within Application or Location Settings to assign company logos for display at POS or inclusion on reports, or adding content to a promo player.
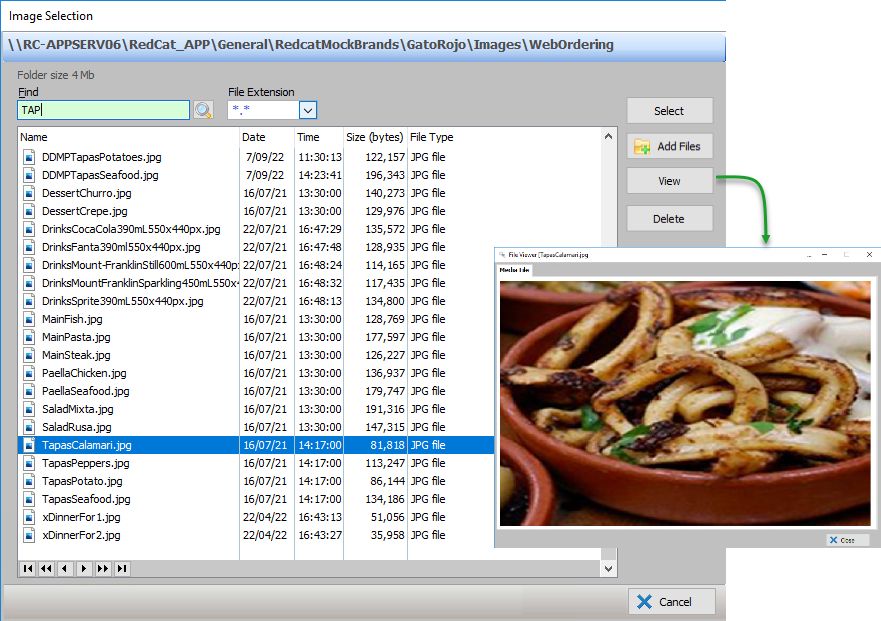
The Image Selection window will display all files which reside in the default directory on the cloud for the relevant image type.
You may:
•Sort each list column by clicking on the column heading
•Search for a particular file name using the Find field
•Filter the list using the File Extension drop-down list
•Inspect the image for a file by selecting the file from the list and using the View button
•Upload a new image using the Add Files button
•Remove an image from the directory by selecting the file from the list and using the Delete button
•Assign the image using the Select button.
Adding a new image
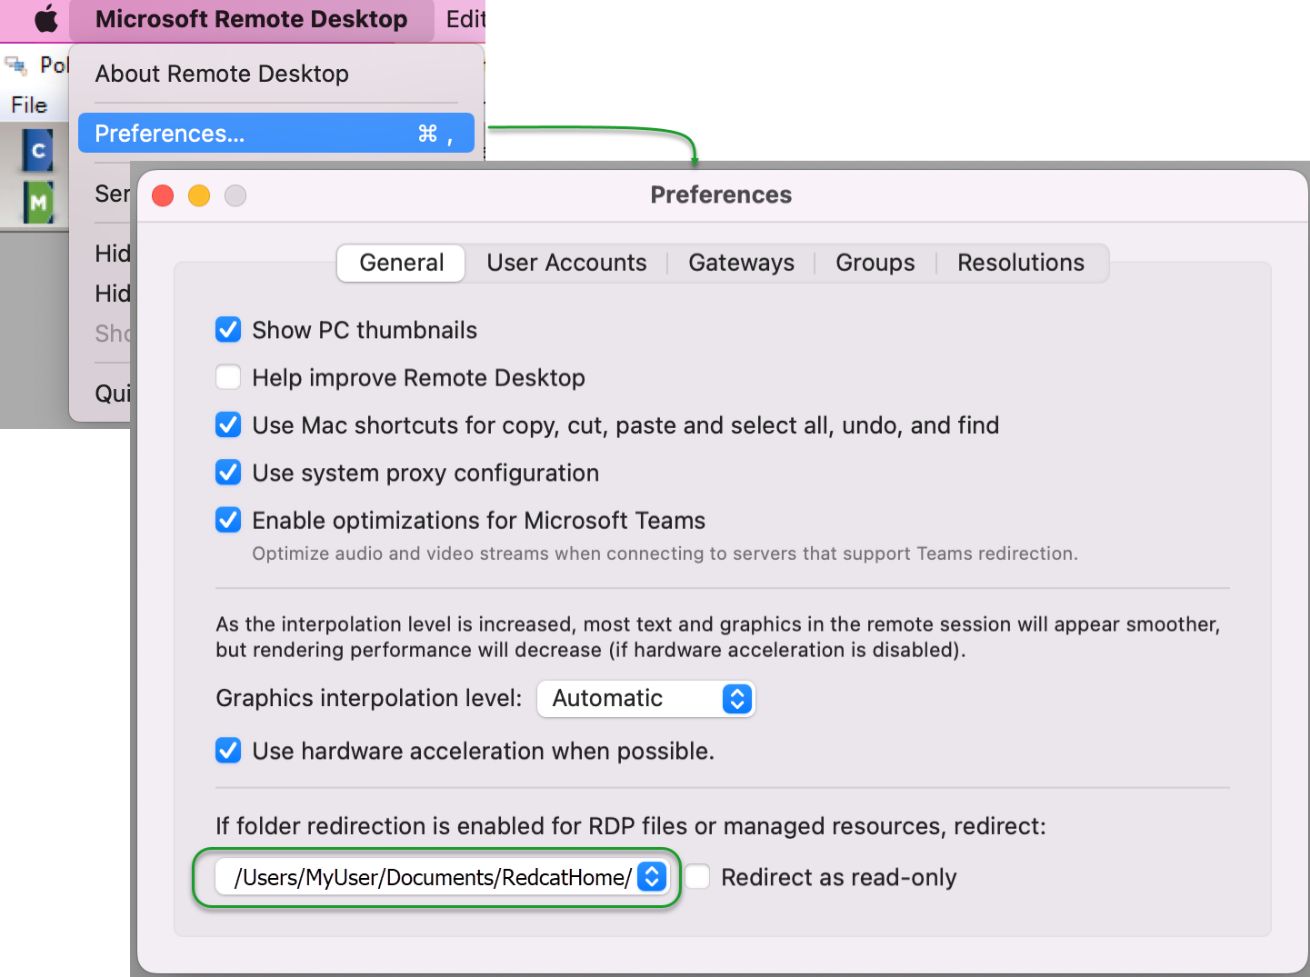
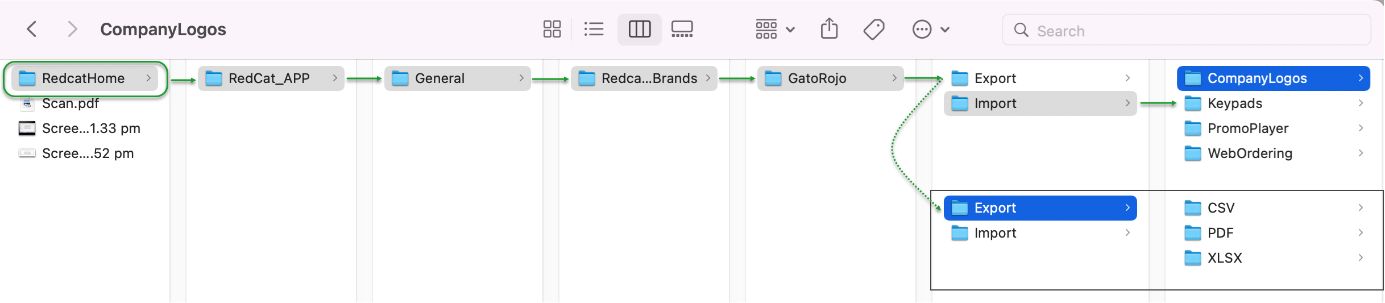
When you connect to your cloud database, directories are created on your local drive which replicate the default directories used to store your images on the cloud.
These directories can be:
\\redcat_app\......\Import\CompanyLogos
\\redcat_app\......\Import\Keypads
\\redcat_app\......\Import\PaymentMedia
\\redcat_app\......\Import\PromoPlayer
\\redcat_app\......\Import\TableMaps
\\redcat_app\......\Import\WebOrdering
You need to ensure that the new image you want to include is copied to the relevant directory on your local drive.
When you use the Add Files button, the Local Folder Explorer window will list the files present in the relevant directory.
Highlight the required files (use the Multi-select, Select All and Deselect All options as appropriate) and choose Select.
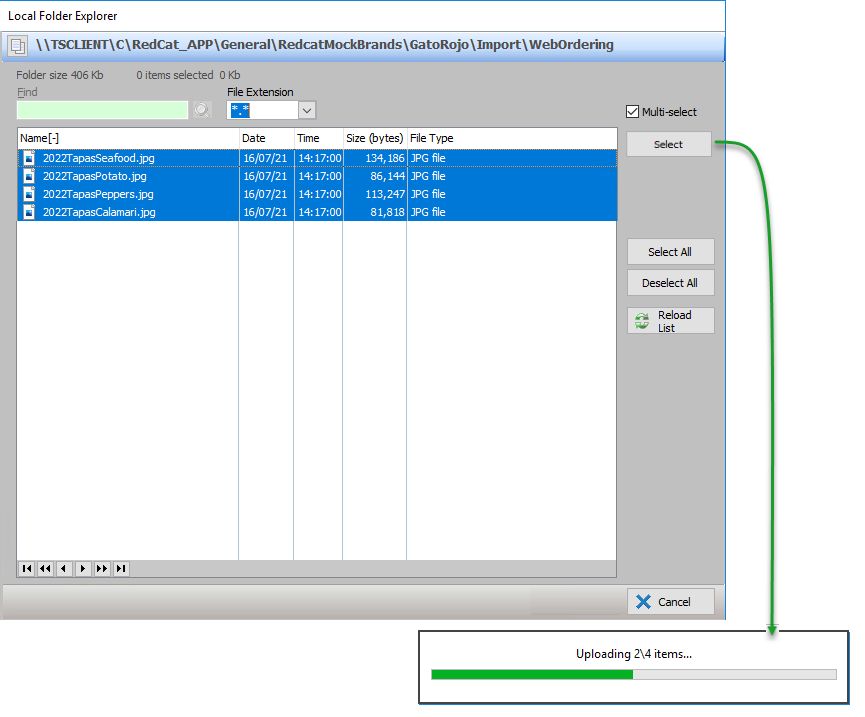
The exact location of the local directory will be listed for you at the top of the Local Folder Explorer window.